|
If you are new to Half-Life
- Opposing Force
or you just load it up and shoot some bad guys... you
probably don't know what the 'Console' is.
All you have to do is
follow this guide. The only difference between this
guide and the Half-Life guide is, you will add the -console
parameter to an Opposing Force shortcut, not the Half-Life
shortcut.
The Console is a way
of accessing features, settings, launching games etc.
To access it, you have to enable it. That is fairly
simple.
I'm going to presume
you know how to make a shortcut to a file on your computer
and that you know where you installed Half-Life to on
your computer.
In this
guide:
Commands: Will
be like this.
To
access the console:
1. Make yourself
a shortcut to the Half-Life executable [x:\sierra\half-life\hl.exe]
on your Desktop or wherever you want the shortcut to
be.
2. Once the shortcut is made, test it by launching
Half-Life.
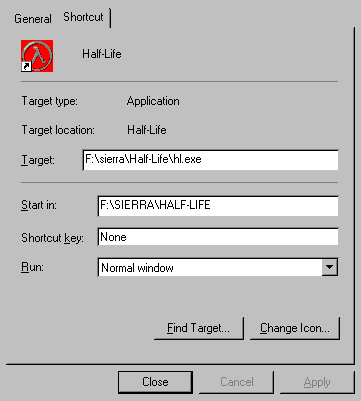
3. Now, bring up the shortcuts properties. On
the second tab [Shortcut] you should see something like
this:

4.
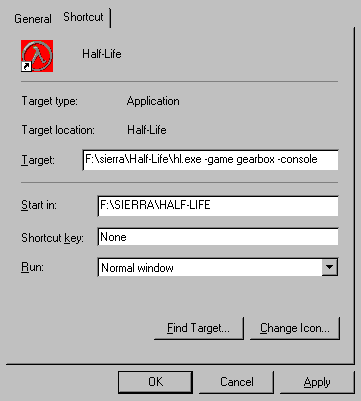
You need to add two new parameters into the Target:
field. In the Target: field add the following: -game
gearbox -console.
Your shortcut properties should now look something like
this:

5. You
can now click on Apply
then Close
and test out your modified shortcut.
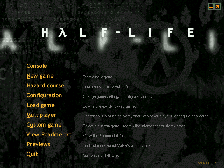
Launch
Opposing Force with your 'console enabled' shortcut
and you should see a new option on the main menu 'Console':

Click
for a larger image.
To enter
the console just click on the button on the main menu.
When you are in the game press the `
key to bring down the console.
You have
now successfully enabled the console in Half-Life -
Opposing Force. Have fun using it.
|

